Hello Happy Scrappers
Hope you all enjoyed the Lovely sunshine and the long Easter weekend.
The UK had glorious weather over the long weekend and we had such a
lovely BBQ with family.
Today I am sharing my layout of my Sister and her boyfriend - New love.
They are so cute together and make such a wonderful couple. They both have
such beautiful natures and big hearts - I hope this new love is a Forever love.
They sure do deserve it.
They went to South Africa in March and visited Cape Town and took these
Stunning photos on their trip. I had to create a layout that captured their love
and these beautiful colours and sunset.
Products:
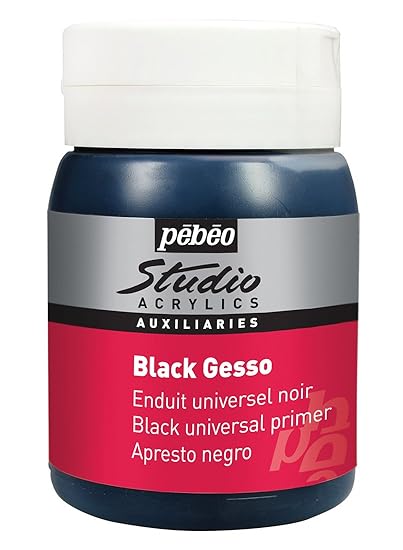
White Gesso - I use PEBEO - great consistency and quality.
Clear Gesso - prime the paper for the stamps and inks (I reccommend PEBEO)
Modeling/Texture paste - I use the PEBEO paste - good quality #PEBEO
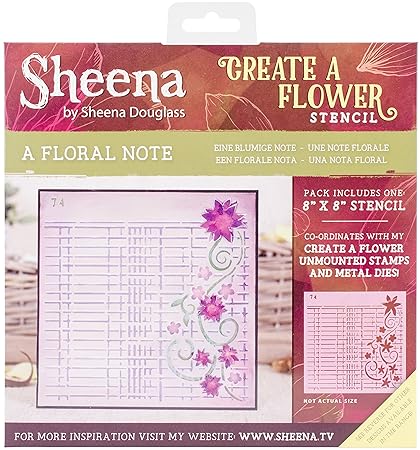
Stencil - Sheena Douglass Create a flower Stencil - a floral note
#CRAFTERSCOMPANION - great specials on products at the mo.
Scrap pieces of paper in the colours I want for the background
Lindy's Magicals - Bells of ireland green - love these concentrate powders - their uses are
unbelievable. You can mix them with any medium and the hue you want.
Lindy's Magicals - Luminous Lemon - I mixed a little with diluted white gesso.
Foamiran Flowers (handmade) - #CRAFTBOX has beautiful starter kits - I used peach.
Small roses - paper or foam - Lindy's Magicals colours both types.
Medium Flowers - The range has a good range and price. I like to buy white and colour
them to match my layouts.
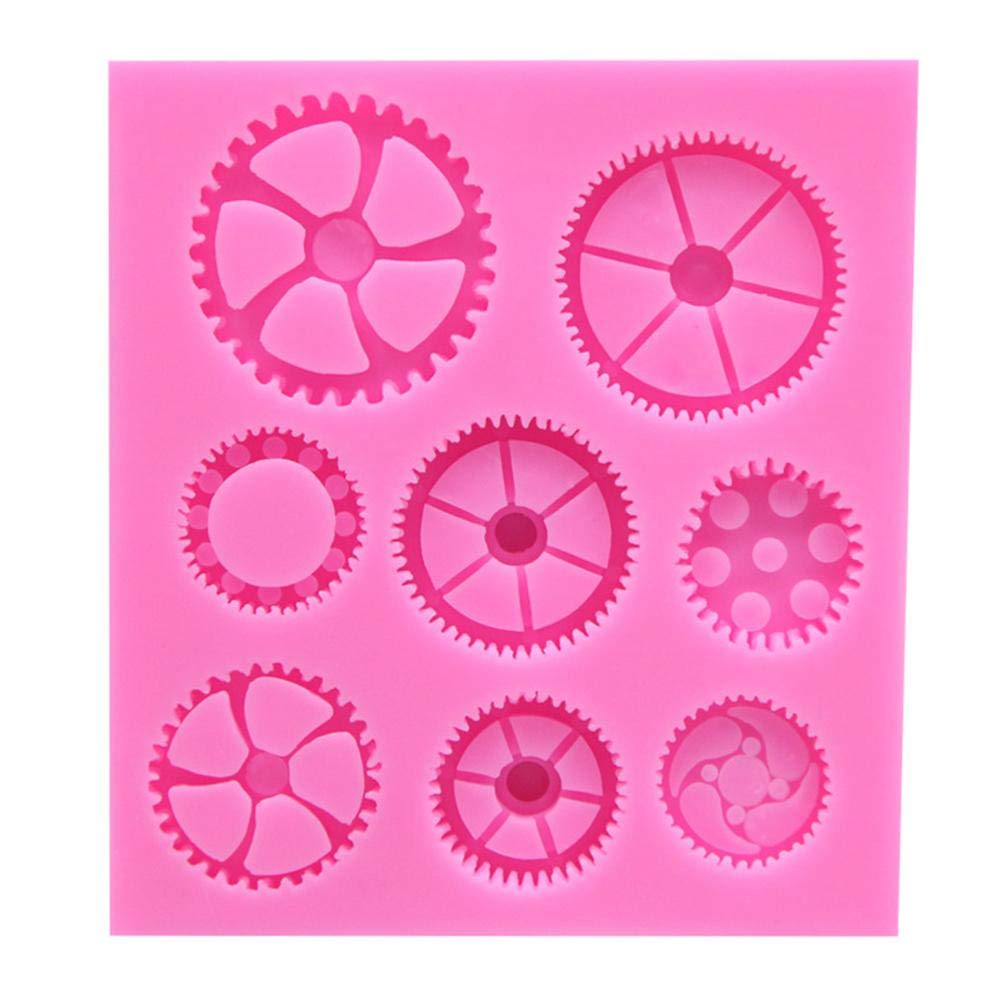
Resin/Clay embellishments - I make my own - I used the
Prima Keyholes mould. and
air dry clay
Blue doilies - The range sells these in lovely pastel packs
Dry moss - Oasis Dry Folral moss - Natural colour
Lindys Starburst sprays:
A bit o Bubbly,
Salt water taffy,
Cape Cod Coral,
Fuzzy navel peach
Ranger Distress ink pad - Vintage photo and
blending tool to ink edges
Background stamp - Sara Signature Flutterby collection
M
ixed media Artsy stones - Medium, I love these artsy stones by Imagination crafts, such a good
price and they last a really long time. I have all the sizes and add lovely dimension
#IMAGINATIONCRAFTS
Mat Gel Medium - Ranger - I find this is the best I have used so far.
Process:
I painted the paper with clear gesso and allowed to dry, this helps the inks and stamps
adhere and not allowing too much moisture or concentrate of colours onto the paper - good
to allow inks to blend.
I tore some of the paper to create the gaps and used my scrap paper for background.
I then mixed Magicals - Bells of ireland green with Modeling paste. abit at a time to
get the right pastel colour I want. I used the stencil to randomly apply to the page.
I then placed the photos and flowers and elements on the page to see what layout
I wanted to create. I lay down the Blue doilies, flowers and Resin embelishments.
I took a photo so I could remember what I wanted to do - I liked the layout flow.
I used the blue doilies as a background behind the torn paper holes.
I matted the photos on Peach card stock, same as the cardstock background I am
going to mat the completed page onto. I distressed the edges of the page and the photos.
Used the brown ink to to chalk the edges of the page, tears and photos, with a blending
tool.
I then used Lindy's Starburst sprays to colour the background and follow the flow of the
flowers and embellishments. I sprayed a little water on the paper and then added the
different Starburst spray colours as listed above, using a paintbrush and spreading and blending the inks.
I then coloured the different flowers.
On the flowers I used the Starburst sprays to colour them with a paint brush.
I either used the spray as is or mixed a little with white gesso to create a lighter hue,
I also used this method with the foamarin flowers to dry brush the colour on as I did
not want them fully coloured. I used the Starburst sprays to colour the clay embellishments.
I glued down the matted photos (used cardboard to lift them slightly) and the flowers,
embellishments and moss.
I covered the photos and created splatter with white Gesso (diluted slightly with water)
dried this with the heat gun to keep it white. If you leave gesso to dry naturaly, it will
absorb the colours underneath if there are any. White gesso is great to lighten dark areas
if you feel the colours are too dark. Dry brush white gesso and leave to dry naturaly -
it absorbs the colour underneath and makes it lighter.
I then used Lindy's Cape cod coral spray to stamp onto the paper - I used an acrylic
block to hold the Spray ink and a stamp, I used my fingers to stamp (no block) this
creates different pressures, creating strong and faded sections of the stamp.
I then stamped some sentiment word stamps on the page: Baby love (new love /
amazing relationship in its infancy), Live and Laugh - as I wish them lots of happiness
in their lives together.
I then mixed some Artsy stones with Gel medium and placed them in the clay lock
embelishments and a few slightly around the clay embellishments. Once this was dry I
used a paint brush and coloured the stones with Lindy's Cape Cod coral spray, and dry
brushed some over the clay embellishements as well to highlight the features.
Here are some close ups -
I hope you enjoyed this and found it inspirational.
I have entered this layout into two challenges: I was inspired by the colour challenge - Pastels
and the word Baby as this is a new relationship - still in its infancy and still so exciting -
so much to learn about eachother.
The colours inspired me to create the layout, as I had these beautiful photos with these orange/
yellow hues. The green blended so well and broke the yellow/orange effect so subtly.
More than words monthly challenge:
click on the link above for amazing inspiration and join the challenge
Lindys Creative Gang - Monthly challenge
Click on the link above -
The creativity of the projects are amazing - check out the inspiration and please join in.
These colours went beautifully with the photos.
Thank you for stopping by and I hope you join in the fun challenges and try new
and creative projects.
Happy Scrappin'
Loves
Candace
This page contains links - this is to help identify the products/items used, or recommended retailers at the best price/deals I could find, or products I reccommend.