MIXED MEDIA ...... just love it
Hi all
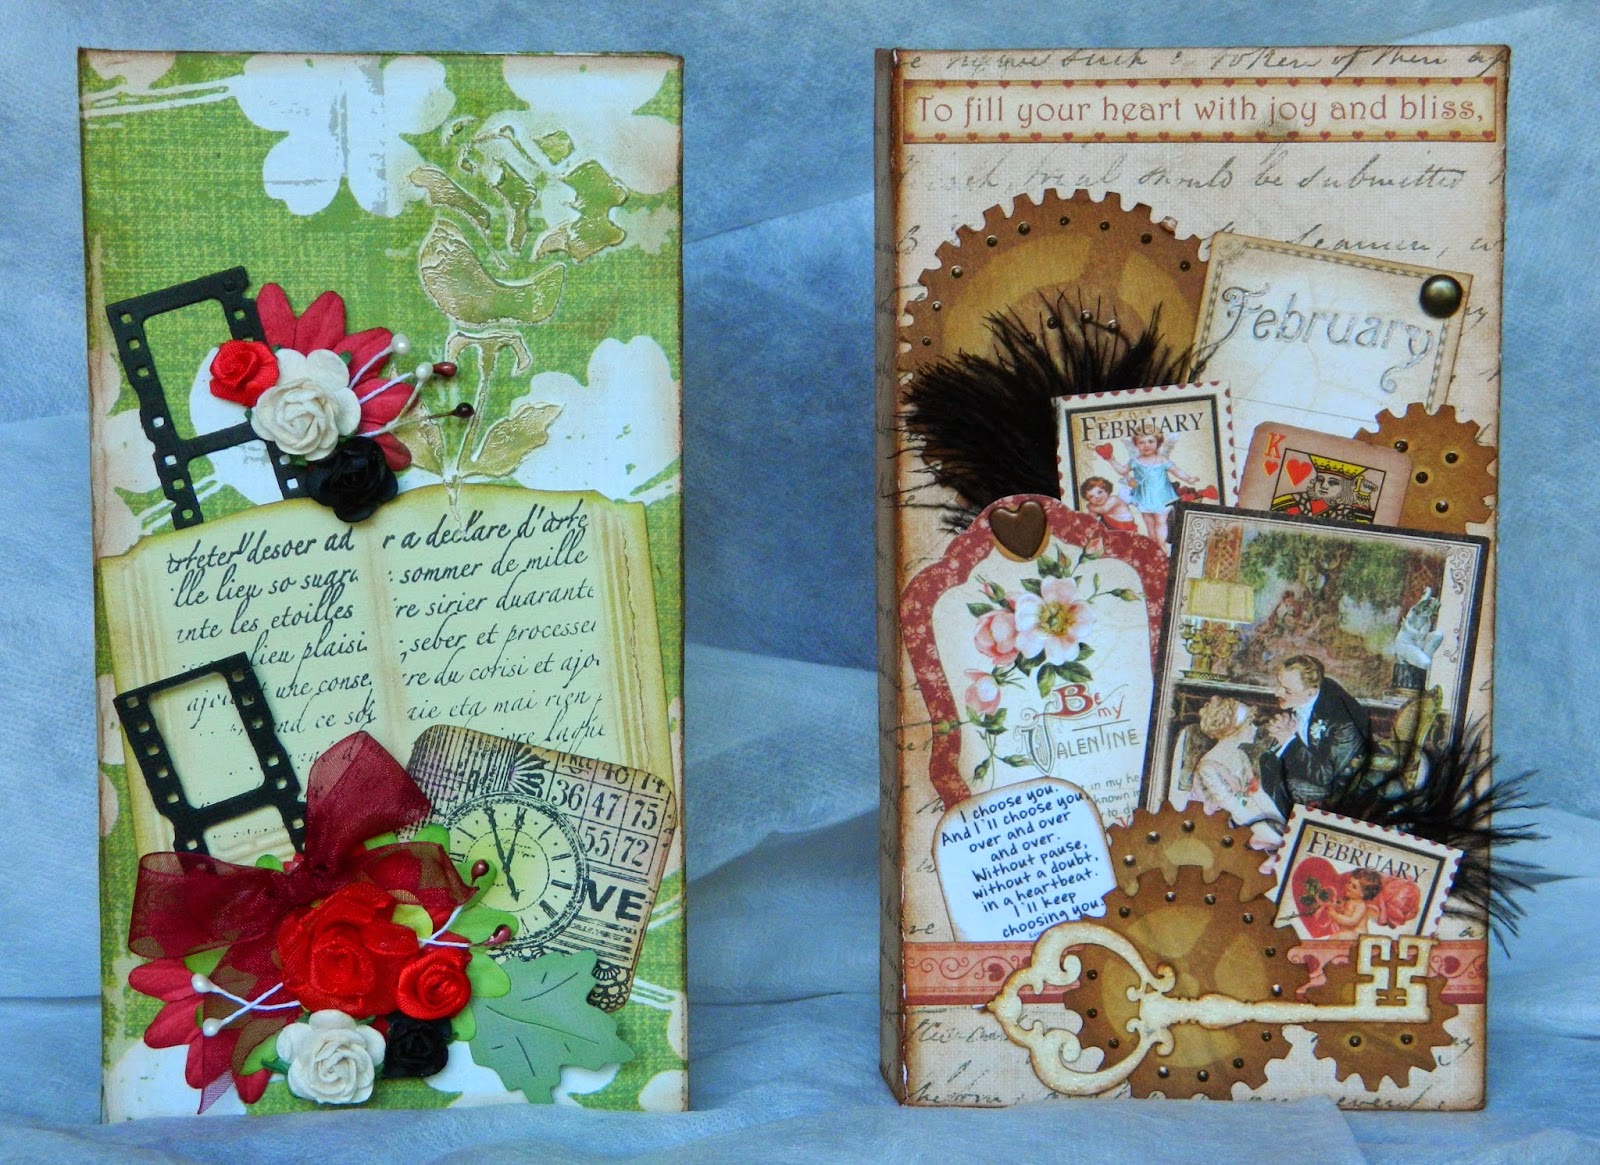
I had so much fun with the last Mixed media project......... "Ooops I did it again".
This time round I made a remote holder for the Lounge.
So many of them and then you cant find the one you need...
So low and behold , they are all in one place now - whoohoo.
You could use this for many other things, perhaps your office desk,
in the kitchen or maybe for your embellishments.
Here is a step by step Tutorial.
Requirements:
- Gesso
- Embellishments (lots and lots)
- Any small objects/ items lying around the house (lots and lots - check the toolbox too)
- Bostik Gel Glue / Glue Gun / E6000 (or any other strong adhesive)
- Paintbrush
- Texture paint (optional if you want to stencil some texture on)
- Strips of Mutton cloth or lace
- Modge podge
- Dye spray / Ink Spray - I used Dazzles from Enmark - Awesome colours
**You will probably need a minimum of about four colours but it depends
on your colour scheme.
Step one:
Using your M/Podge, paint the area where you want to add your cloth or lace. Stick the material down and go over it with modge podge. Remember dont make it flat. Wrinkle and crinkle it to give texture.
Stick all your embellishments on your casing, using your strong adhesive.
Step two:
Gesso your whole project (paint the gesso over the entire project)
Remember to make sure it covers all the embellishment (gaps around embellishments)
Preferably do two coats of Gesso (let the first coat dry completely)
Step three:
Using your Dye sprays, do the first colour starting at the top. Make sure it dries completely (you can use your Heat gun to speed up the drying process)
Then move to the second colour and spray right around the Project, keeping the same line.
Let it dry... I must emphasize on this, if it is not dry the next dye spray you use bleeds the previous colour and does not blend well. Unless you like the speckled look, then go ahead:)
You can continue as above or if you prefer spray sections of the project.
Final Step:
Fill your holder and put it where it belongs.
Tada.... Remotes all in one place in the lounge.
Thank you for joining me and I hope you enjoyed this.
Please share your comments with me and do not hesitate to email me if you need any help or products.
Please share your finished projects with me.
You can email them to candace@scrapsensations.co.za and we will put them on the blog and website.
Please visit again and have a happy scrappy Friday