Sunday, September 27, 2020

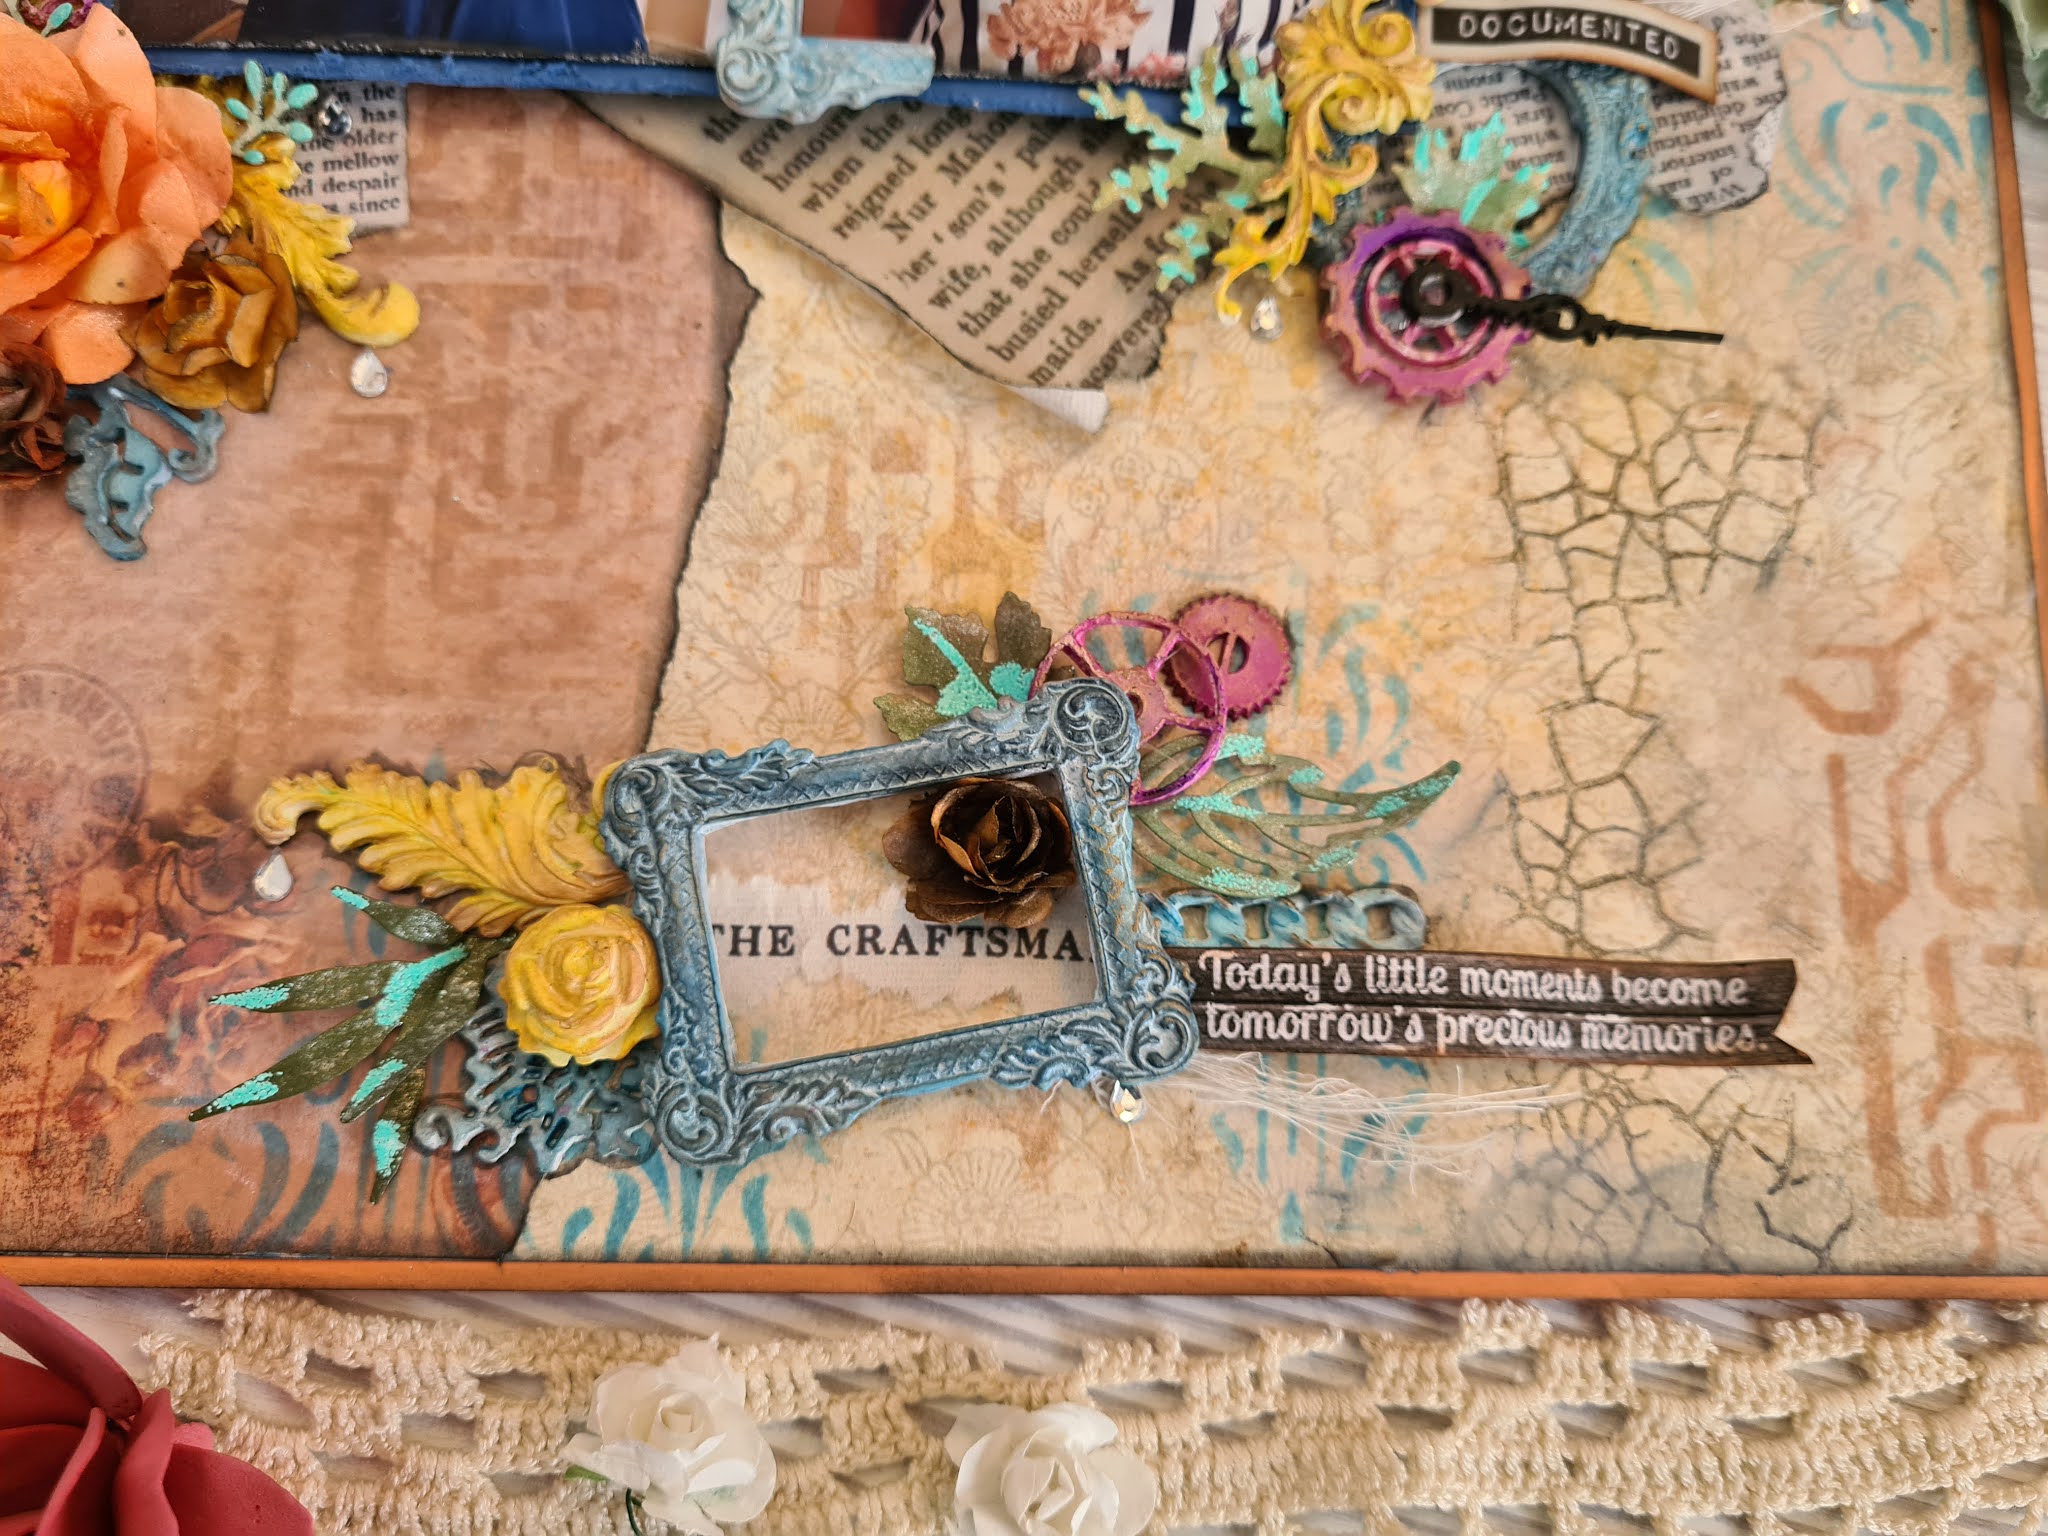
Documented - Todays moments are Tomorrows memories

 Hello Happy Crafters

I hope you are all well and staying safe and creating to your hearts content . 

Today I am sharing a layout I created inspired by two challenges I found. 

I was inspired by More than words challenge = Books and Book papers - please click on their image below for their Challenge and Inspiration and Mixed Media Academy = Its the little memories that will last a lifetime and their beautiful colours on their moodboard. Please click on their image for their Challenge and inspiration

I was inspired by the MTW challenge of documenting our special moments like a book and MMA creating an album of memories that will last a lifetime. My family love paging through my scrapbook albums with creative pages and memories. 

So lets get started: 

These are the products I used to create the background on my page


I used two halves of patterned paper and distressed the edges and inked them.
i stamped the background and stencilled ink through the stencil to create more depth
I then primed the page with #peboebindex  once all the ink was set and dry. 


I then coloured some Die cuts I cut on my Bigshot and Home made resins.

I used #Lindy's Flat and Starburst #Magicals to colour the gear die cuts: poppin pink & urban amethyst and then used the #nuvo expanding mousse to add gold texture randomly on the gears. 


I used #lindys Starburst sprays on my resins - Whale watch blue & Blue Hawaiian blue
I brushed over the edges with #ranger Vintage photo and added #nuvoexpandingmousse - gold


I then coloured a few other handmade resins with #Lindys Starburst sprays and #magicals
Yellow Rose of Texas, Luminous Lemon and Clam bake Beige spray.
I also highlighted the raised edges with Nuvo mousse - Gold


I coloured some large paper roses with #magicals Yellow roses of texas
and #Starburstsprays - Cape Cod Coral & Fuzzy Navel Peach


I dye sprayed smaller paper roses as below


I matted my photos on cardstock and mounted with strips of carton to raise them. 
I printed book pages on rice paper for my background.
I then worked on how I wanted to lay the photos and embellishments.


I printed some quotes and words

I then adhered the photos and embellishments to the page.


Here are some close ups


Thank you for stopping by and I hope you enjoyed the share. 

I have also entered my layout into Lindy's challenge - Please click on their image below for their challenge and inspiration.

Please click on the images below for the respective challenges and inspiration 


Please take care, have fun and stay safe.

Be inspired - Keep inspiring

Loves 

Candace


Friday, August 21, 2020

Chillin' out

 Hello Happy Scrappers 

Hope you had a wonderful week. 

Today I am sharing a layout I created of my family Chillin' on beach and exploring. 
What more could you ask for ? Having the beach and able to explore. What an adventure.


Here is the process: 


I used #pebeobindex to primer and seal the paper
I then added Texture paste through a stencil


Once the paste was dry, I spritzed the paper with a little water and added 
#magicals Bachelor Button Blue. I added more water to dilute the colour a 
a little  more and spread it around the stencilling. 
Once this was dry I splattered white paint on the page.

While the page was drying I painted my home made resins with Gesso and then inks.
I used an embossing pen to highlight the raised areas of the resins and flowers and 
embossed them. I stamped some images and heat embossed them and fussy cut them.

I then placed my embellishments on my page to work out the best layout and what 
embellishments I wanted to use.


Once I was happy with my layout, I adhered my embellishments and photo. 

I added a few speckles of brown ink to finish off. 


Here are a few closeups


I was inspired by the August challenge by #Morethanwords
with the sketch and word inspiration "Chill out"

Please click on the link below to participate and be inspired by the design teams 
amazing creations


Thank you for stopping over .

Wishing you a wonderful weekend ahead 

Loves
Candace

Thursday, August 6, 2020

Prom Night Memories

Hello happy Scrappers

Welcome if you are joining me for the first time, and to my regular visitors
welcome back and I am very happy to see you back again.


Today I am sharing my Layout I created with the photos of my eldest sons'
prom nights. Yip, he went to two and was Stylin'

I started with Stamping with black ink through a stencil. I then sealed the page with
#Liquitex clear Gesso. I added texture paste coloured with #infusions Raspberry
through a stencil and left to dry.


In the mean time I die cut some cardstock and looked though my homemade
clay resins.


I matted my photos and placed them on my page to see how I wanted my layout.


I painted the Die cuts and clay embellishments with black #gesso
I went through my flower stash to find the right flowers and other floral
embellishments to use.


I mixed #infusions with white gesso and dry brushed the black resins and some 
embellishments. I used embossing powder randomly on the resins. 


I used #nuvo expanding mouse and rubbed some randomly on some of the 
embellishments and resins. 


I used the same effect on the letters for PROM.


I adhered everything to the page with my trusty #bostik  All purpose clear glue.

Here are some close ups: 


I absolutely enjoyed creating this layout and love the colours.

Thank you for popping by and I hope you enjoyed the post.

Take care and hope to see you soon

Loves
Candace