
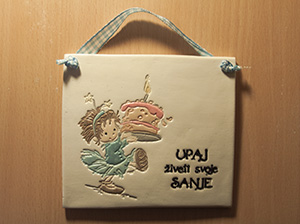
Clay Hanger
by Mojca Perdih
Stamp and color clay to create tile decor.
Supplies

- Air Drying Clay
- Clay Tools
- Image Stamp
- Straw
- Watercolor Paints
Step-by-Step
-
Step 1
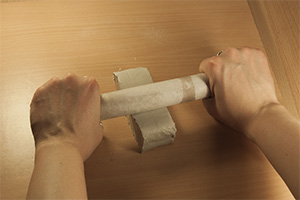
Roll out the clay till it's really smooth (you have to be careful that it is not too thin (around 1/4" or 1/2 - 1 cm)
-
Step 2
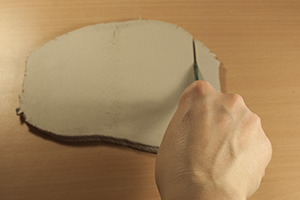
Cut out the shape with your clay tools.
-
Step 3
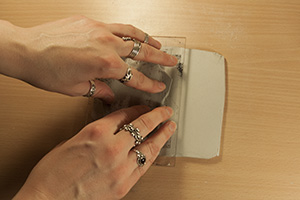
Press stamp uninked into the clay.
Hint:
Be careful not to press to hard or too soft, but just something between. If you get any traces on the clay that you don’t want just gently rub them with you finger and some water ...but be gentle, any strong pressure will show on the surface.
-
Step 4
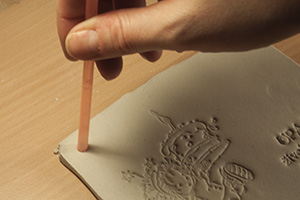
Use a straw to make holes for the ribbon. Let it dry (at least 5 to 7 days but it depends on the temperature in the room).
-
Step 5
When it is completely dry color the picture and add ribbon. Watercolor paints were used here to color the image.
No comments:
Post a Comment