Hope you had a lovely Friday evening and felt inspired to try and test some techniques.

I have a picture tutorial below on the flowers I made (using a metal die) and
dont miss the link below showing you how to make flowers without a metal
die..... stunning.
Remember you can use paper or foamiran
Here we go:
I die cut paper with a metal die and then coloured the petals with ink and dauber (centre)
and the edges I used Lindy's dye sprays.
Remember to colour the front and the back of the petals.
I folded the petals while they were still abit wet from the spray.
I fold the two petals onto the opposite two petals and then folded it in half
and fold the last petal in line with the others:
I then roll the petals into eachother gently and then give them a twist between
my fingers
i then leave the rolled petals and carry on doing the same to the rest of the petals
I give the petals a quick dry with the heat gun and then unroll them carefully
I dont undo them so the petals are flat and straight, I try and leave the texture
the "roll and twist" has created.
I then use glue in the centre of the petals (around the hole) and glue the layers
together (about 4 petals)
I then put stamens in through the centre of the flower and used 3D gel glue/ Silicone
glue around the stamens in the centre of the flower, to hold them in place.
Once the gel / silicone glue is dry, I cut off the excess of the stamen pieces at the back
of the flower.
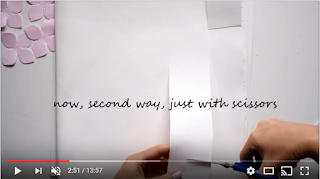
Now check out the awesome link below (click on image), where you dont need a metal die
to make these awesome flowers..... Just need scissors - QUICK and EASY
Thank you for stopping by and I hope you enjoyed the tutorial and video.
Hope you feel inspired to go give it a try... what you can do with these flowers
is amazing.... Cards, Layouts and Mixed Media
Have a lovely weekend
Loves
Candace


No comments:
Post a Comment